Introduction
Are you eager to delve into the world of AI-generated art and create stunning visuals with the latest Stable Diffusion 2.1?
Installing cutting-edge software like this can sometimes be a daunting task, with potential hurdles and errors along the way.
If you want to dive into the world of AI art and explore the new features of Stable Diffusion 2.1, or if you encounter any errors during installation, you’re in the right place.
In this guide, we’ll walk you through the process of how to install Stable Diffusion 2.1 for use with Automatic 1111.
This article is your comprehensive guide to installing Stable Diffusion 2.1.
I’ll walk you through the process step by step, addressing common issues you might encounter and providing solutions to ensure a smooth and enjoyable experience.
What is Stable Diffusion 2.1?
Stable Diffusion 2.1 is the latest version for creating AI-generated art.
It comes with significant improvements over its predecessors, offering enhanced flexibility and control to users in shaping their creative outputs.
With a new text encoder (OpenCLIP) developed by LAION, this version broadens the range of expression and introduces the capability to generate diverse and high-quality images.
Notably, it adjusts its content filtering to balance the removal of adult content, enabling a more versatile dataset that spans architecture, landscapes, and people.
What's New in Stable Diffusion 2.1?
Before we get into the how to install Stable Diffusion 2.1, let’s take a quick look at what’s new in Stable Diffusion 2.1:
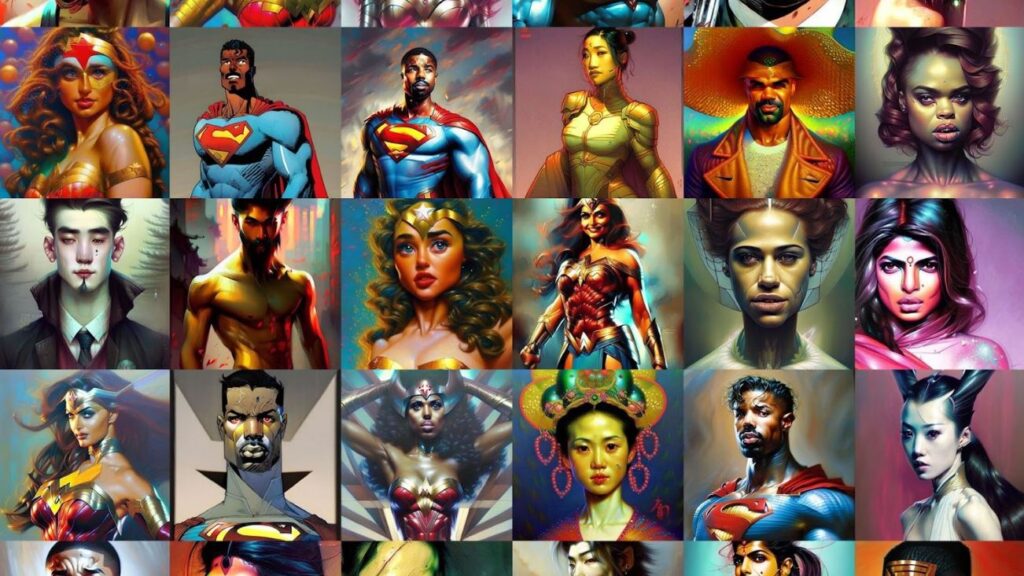
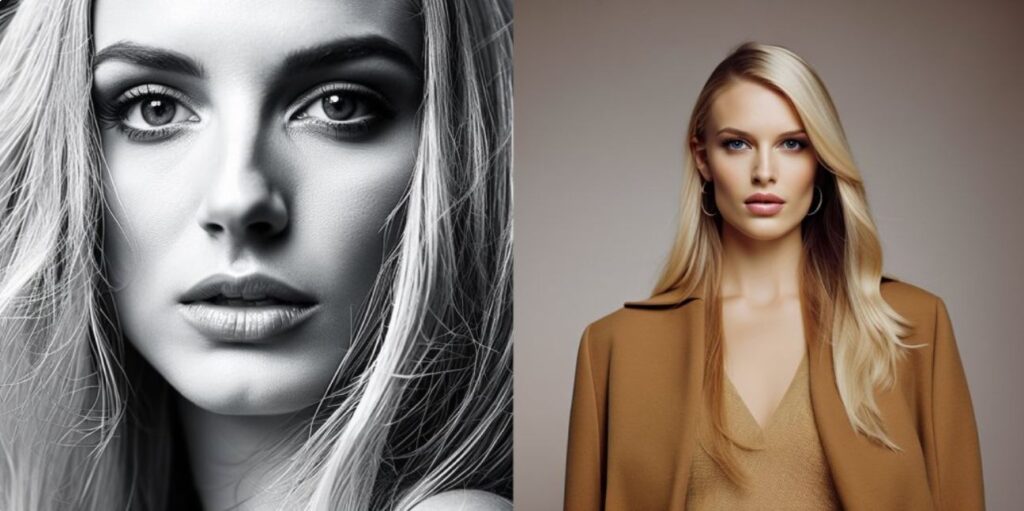
- Improved Image Quality: Stable Diffusion 2.1 promises better results for portraits, landscapes, and architectural images.
- Additional Art Styles: The model now supports more art styles, allowing for a wider range of creative outputs.
- Less Strict Filtering: The filtering for not safe for work (NSFW) images has been made less strict, which should help with anatomical and hand details.
- Extended Aspect Ratios: Stable Diffusion 2.1 supports more extreme aspect ratios, although this may depend on your computer’s processing power.
- New Text Encoder (OpenCLIP): Stable Diffusion 2.1 uses a brand new text encoder called OpenCLIP, developed by LAION. This text encoder allows for a wider range of expression and prompts, enabling more diverse and creative image generation.
- Improved Dataset: The dataset used for training Stable Diffusion 2.1 is more diverse and wide-ranging, with a particular emphasis on improving image quality for categories like architecture, interior design, wildlife, and landscapes. The model underwent fine-tuning to enhance its performance in generating images of people and pop culture.
Let’s have a quick look at some prerequisites to install Stable Diffusion 2.1.
What you will need to install Stable Diffusion 2.1?
- An Nvidia GPU with a minimum of 12 GB of memory.
- A Linux distribution, which can also be WSL2 on Windows. In this guide, we’ll be using Ubuntu 22.04 LTS.
- The CUDA toolkit and cuDNN, which are the standard tools required for deep learning. For this tutorial, we’ll be using CUDA version 11.8 and cuDNN version 8.7.
- You’ll need a conda distribution, like Anaconda if you already have it, or Miniconda if you haven’t installed it yet. While some may prefer using pip, in this case, conda is a necessity.
Now, let’s move on to the installation process of Stable Diffusion 2.1.
How to install Stable Diffusion 2.1 with Automatic 11.11
Here’s a detailed, step-by-step guide on how to install Stable Diffusion 2.1 for use with Automatic 11.11:
1. Ensure You Have Automatic 1111:
Before you begin, make sure you have the latest version of Automatic 1111 installed on your computer. If you don’t have it, you can follow an installation guide to obtain it. This software is essential for running Stable Diffusion 2.1.
2. Download Stable Diffusion 2.1 Models:
Go to the Hugging Face Pages dedicated to Stable Diffusion 2.1. You can access these pages online.
SD 2.1 768 Download: https://huggingface.co/stabilityai/st…
SD 2.1 512 Download: https://huggingface.co/stabilityai/st…
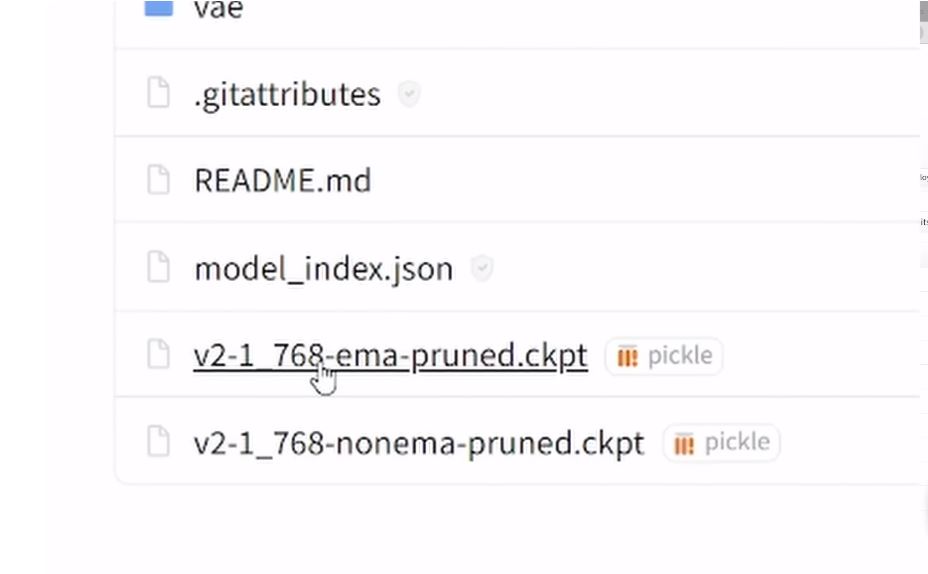
On these pages, you’ll find links to download the Stable Diffusion 2.1 models. You have two options based on your preferred image resolution: 768 pixels or 512 pixels.
Download the non-EMA (non-exponential moving average) model for your chosen resolution. It’s perfectly safe to ignore the “pickle” extension; there is no need to worry about it.
3. Save Models in the Local Automatic 1111 Folder:
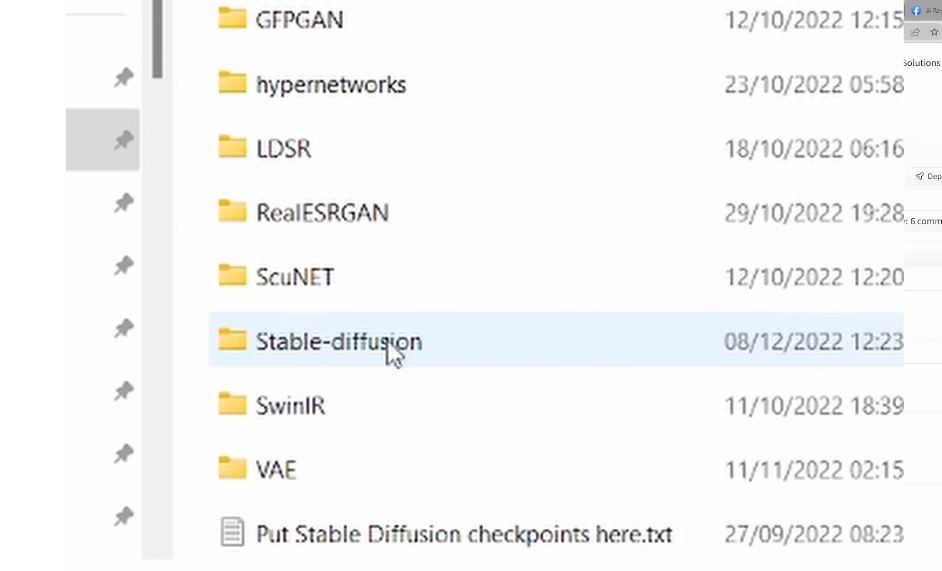
After downloading the Stable Diffusion 2.1 model, locate your local Automatic 1111 folder on your computer.
Within the Automatic 1111 folder, you’ll find a “models” subfolder. Place the downloaded Stable Diffusion 2.1 model in this “models” folder. Specifically, create a subfolder named “Stable Diffusion” and put the model inside it.
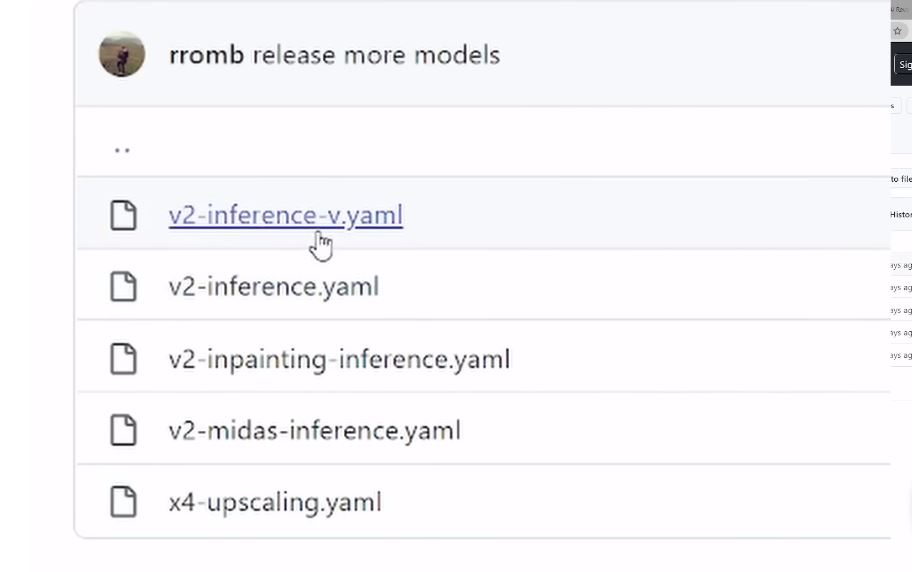
4. Download YAML Files:
To complement your model installation, you’ll need YAML files. These files determine how the model operates.
YAML Files Download: https://github.com/Stability-AI/stabl…
There are two versions: one for the 768-pixel model and another for the 512-pixel model.
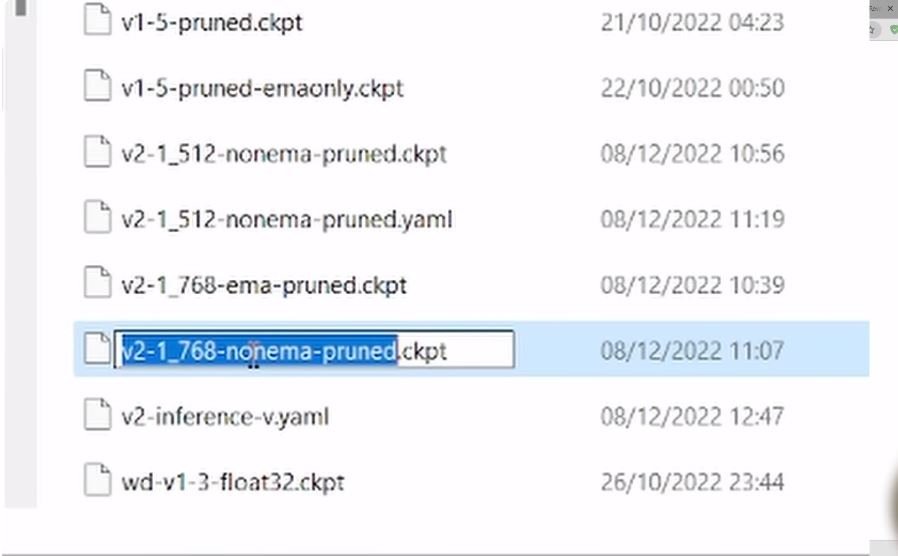
5. Rename the YAML File:
Once you’ve downloaded the YAML file corresponding to your model, right-click on it.
Change the file name to match the name of your model, excluding the “.ckpt” part. When prompted to change the file type, confirm this change.
6. Edit the Command Line Args:
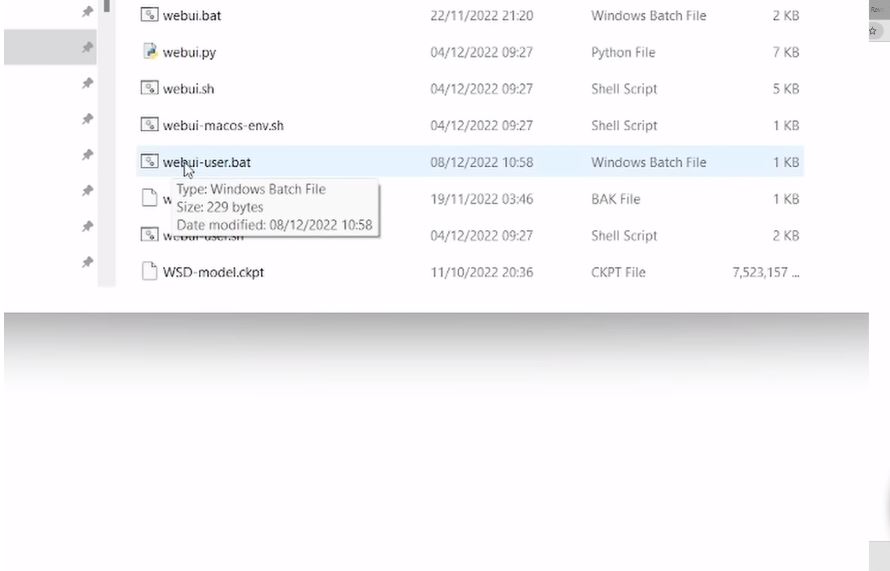
Now, navigate to the location where you installed Automatic 1111 on your computer.
Find a file named “webUI-user.bat” within the installation directory.
Right-click on this file and choose to edit it.
Add –no-half to the end of the command line arguments within the file. This addition is necessary for the new model’s full precision operation.
Save the edited file.
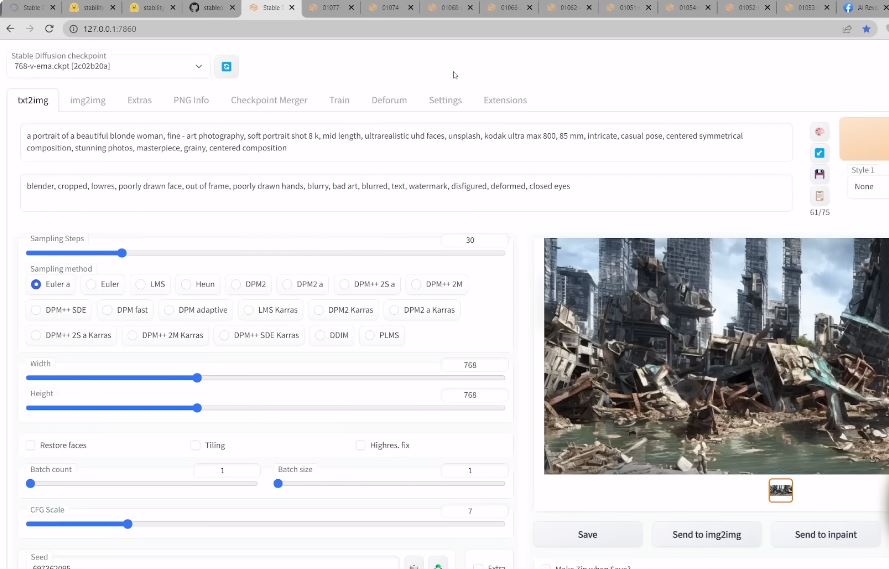
7. Run Automatic 1111:
Double-click the edited “webUI-user.bat” file. This action will open a command window.
Allow Automatic 1111 to load. This may take a moment, so be patient.
8. Select the Model:
Once Automatic 1111 is up and running, access the web user interface (UI).
In the web UI, go to the model selection list, where you can choose the Stable Diffusion 2.1 model you wish to use. This selection will determine the style and quality of the generated art.
Now, Stable Diffusion 2.0 is installed successfully.
You can use it to create any kind of AI art you want.

Trouble Shooting common errors while installing Stable Diffusion 2.1
Here are some typical problems users may encounter during the installation and use of Stable Diffusion 2.1, along with potential solutions:
Installation Errors: Double-check that you’ve downloaded the correct version of Stable Diffusion 2.1 for your operating system. If problems persist, try running the installer with administrator privileges.
Connection Troubles: Verify the accuracy of the server address, username, and password. If everything seems correct, reach out to your network administrator or service provider to confirm if there are any ongoing server-related issues.
Performance Challenges: Confirm that your computer meets the minimum system requirements for Stable Diffusion 2.1. If it does, consider adjusting the application’s performance settings to align with your machine’s capabilities.
By addressing these common issues, you’ll be on your way to a seamless and enjoyable experience with Stable Diffusion 2.1.
Conclusion
In a nutshell, you can easily install Stable Diffusion 2.1 even if you’re a completely beginner.
Stable Diffusion 2.1 is a big step forward in the world of AI-generated art.
It means better quality images, more options for creativity, and a broader range of things to work with.
With a new tool for understanding text and better support for different art styles, artists and creators can make all sorts of cool pictures.
Our guide makes it easy to get Stable Diffusion 2.1 up and running in your creative toolbox.
We’ve also talked about some problems you might run into when you’re installing it. This way, you can enjoy a smoother experience.
As AI art keeps getting better, Stable Diffusion 2.1 shows us how exciting and innovative this field can be.
It’s a great tool for anyone who wants to explore the world of AI-generated art and create amazing things.