

Introduction
Want to make your drone videos look like they belong in a Hollywood movie? Cinematic drone shots can take your footage to the next level, whether you’re filming landscapes, events, or just having fun with your drone. In this guide, I’ll walk you through simple, practical techniques to create jaw-dropping cinematic drone shots. No fancy jargon here—just easy tips to help you shoot like a pro. Let’s dive in!
Why Cinematic Drone Shots Matter?
Cinematic drone shots aren’t just about flying a drone and hitting record. They’re about telling a story, creating emotion, and capturing scenes that make viewers go “Wow!” Whether you’re a beginner or someone with a bit of experience, these shots can make your videos stand out. Think sweeping landscapes, smooth tracking shots, or dramatic reveals—these are the kinds of visuals that grab attention.
In this guide, we’ll cover everything from planning your shots to mastering drone movements and editing tips. By the end, you’ll have a toolbox of techniques to create cinematic drone footage that pops!
Understanding Your Drone and Camera Settings
Before we get into the fun stuff, let’s talk about the basics. Your drone and its camera are your tools, and knowing how to use them is key to cinematic shots.
Choose the Right Drone
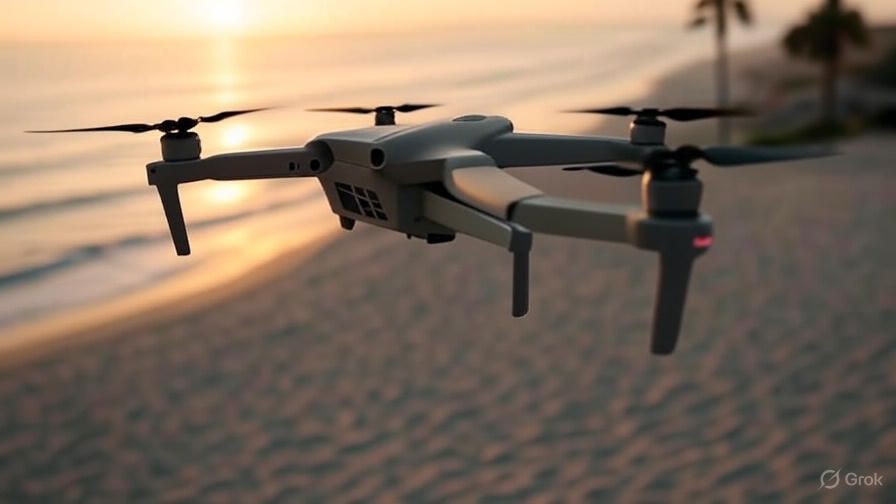
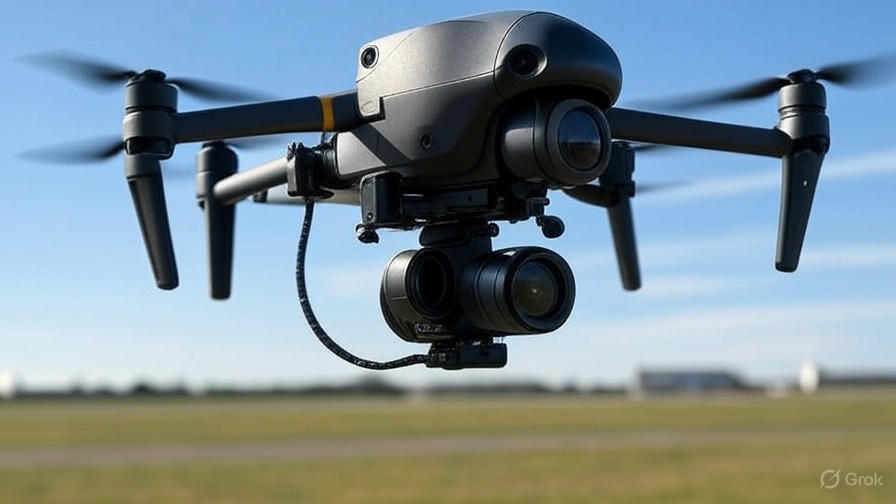
You don’t need a $2,000 drone to shoot cinematic footage. Many affordable drones, like the DJI Mini series or Autel Evo Nano, can capture stunning 4K video. Look for a drone with:
- 4K camera: Higher resolution gives you more detail and flexibility in editing.
- Gimbal stabilization: This keeps your footage smooth, even in windy conditions.
- Manual camera controls: Adjust settings like shutter speed and ISO for better results.
Master Your Camera Settings
To get that cinematic look, tweak your camera settings:
- Frame rate: Shoot at 24 or 30 frames per second (fps) for a film-like feel. Higher frame rates (60 fps) are great for slow-motion shots.
- Resolution: Go for 4K if your drone supports it. It gives you room to crop without losing quality.
- Shutter speed: Set it to double your frame rate (e.g., 1/50 for 24 fps) for natural motion blur.
- ISO: Keep it low (100–400) for clean, noise-free footage, especially in daylight.
- ND filters: These are like sunglasses for your drone’s camera. They reduce light, letting you use slower shutter speeds for smoother footage.
Pro tip: Practice adjusting these settings in your drone’s app before flying. It’ll save you time and help you avoid shaky, overexposed shots.
Planning Your Cinematic Drone Shots
Great cinematic shots start with a plan. You can’t just fly around and hope for the best. Here’s how to set yourself up for success.
Scout Your Location
Before you fly, check out your filming spot. Use tools like Google Earth or local maps to find interesting features like rivers, mountains, or buildings. Ask yourself:
- What’s the story I want to tell? (e.g., a peaceful sunrise, a bustling city)
- Are there unique landmarks or natural features I can highlight?
- What’s the lighting like at different times of day?
Check Weather and Regulations
Weather can make or break your shots. Golden hour (just after sunrise or before sunset) gives you soft, warm light for that cinematic glow. Avoid flying in strong winds or rain—it’s risky and can ruin your footage.
Also, check local drone laws. Some areas require permits or have no-fly zones near airports. Apps like AirMap or FAA’s B4UFLY can help you stay legal.
Storyboard Your Shots
A storyboard is just a rough sketch of the shots you want. It doesn’t have to be fancy—doodle on paper or use an app. Plan the sequence of your shots to create a flow, like:
- A wide aerial view to set the scene.
- A smooth tracking shot following a subject.
- A dramatic reveal of a hidden landmark.
This keeps your video cohesive and engaging.
Top Cinematic Drone Shot Techniques
Now for the fun part! Here are the best techniques to create cinematic drone shots that’ll wow your audience.
1. The Reveal Shot
This is a classic. Start with your drone behind an object (like a tree or cliff) and slowly rise or move to reveal a stunning landscape. It builds anticipation and feels epic.
How to do it:
- Position your drone low, with an object in the foreground.
- Slowly ascend or move forward to reveal the scene.
- Keep the movement smooth to avoid jarring the viewer.
Example: Fly over a forest and reveal a waterfall in the distance.
2. The Tracking Shot
Follow a moving subject—like a car, runner, or boat—for a dynamic, engaging shot.
How to do it:
- Use your drone’s tracking mode (if available) or manually follow the subject.
- Keep a consistent distance and speed for smoothness.
- Try flying at an angle (e.g., 45 degrees) for a more cinematic perspective.
Pro tip: Practice flying in a straight line while keeping the subject centered.
3. The Orbit Shot
Circle around a subject, like a building or person, to show it from all angles. This adds drama and depth.
How to do it:
- Set your drone to orbit mode or manually fly in a circle.
- Keep the subject in the center of the frame.
- Adjust altitude slightly for variety (e.g., start low and rise).
Example: Orbit a lighthouse to show the ocean and cliffs around it.
4. The Fly-Through Shot
Fly through tight spaces, like arches or between trees, for a thrilling effect.
How to do it:
- Plan your path carefully to avoid crashes.
- Use FPV (first-person view) mode if your drone has it for better control.
- Practice in an open area first to build confidence.
Safety note: Only try this if you’re an experienced pilot, as it’s risky.
5. The Top-Down Shot
Fly high and point the camera straight down for a unique perspective. This works great for patterns, like fields or city grids.
How to do it:
- Fly to a safe altitude (check local regulations).
- Tilt the camera 90 degrees downward.
- Move slowly to keep the shot steady.
Example: Capture a winding river or a colorful festival from above.
6. The Parallax Shot
This creates depth by having objects in the foreground and background move at different speeds.
How to do it:
- Fly sideways with a subject (e.g., a tree) in the foreground and a mountain in the background.
- The foreground moves faster, creating a 3D effect.
- Keep the movement smooth and steady.
Pro tip: Use this for landscapes with layered elements, like hills or buildings.
Editing Tips for Cinematic Drone Footage
Your raw footage is just the start. Editing can make your shots truly cinematic.
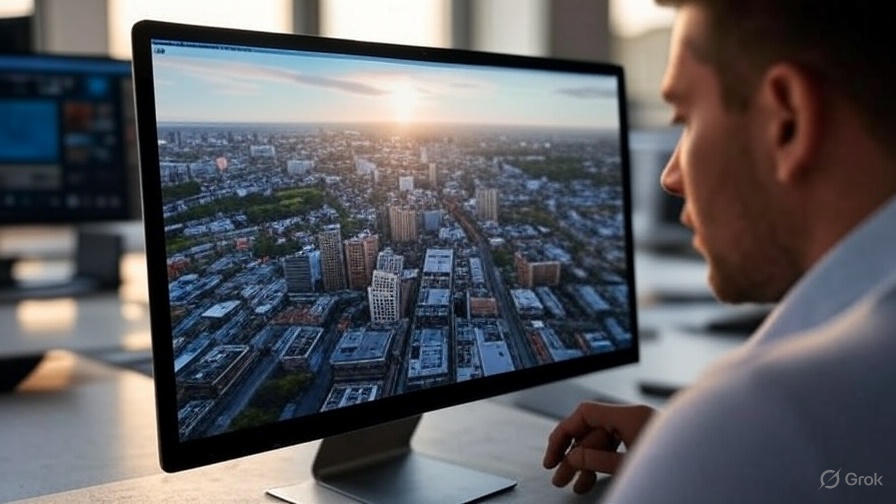
Color Grading
Add a cinematic vibe with color grading. Use editing software like Adobe Premiere Pro or DaVinci Resolve to:
- Boost contrast for deeper blacks and brighter highlights.
- Add a slight blue or orange tint for a film-like look.
- Use LUTs (Look-Up Tables) designed for cinematic effects.
Add Music and Sound Effects
Music sets the mood. Choose a track that matches the vibe of your video—calm for nature shots, upbeat for action scenes. Add subtle sound effects, like wind or waves, to enhance immersion.
Smooth Transitions
Use transitions like fades or cross-dissolves between shots to keep the flow natural. Avoid overusing flashy effects—they can look amateurish.
Crop and Stabilize
If your footage is slightly shaky, use stabilization tools in your editing software. Crop 4K footage to reframe shots without losing quality.
Common Mistakes to Avoid
Even pros make mistakes. Here’s what to watch out for:
- Jerky movements: Practice smooth flying to avoid choppy footage.
- Ignoring lighting: Shoot during golden hour for the best light.
- Overediting: Keep effects subtle to maintain a professional look.
- Breaking drone laws: Always check regulations to avoid fines or crashes.
Tools and Accessories for Better Shots
A few extras can level up your drone game:
- ND filters: Essential for controlling light and getting smooth motion.
- Extra batteries: More flight time means more chances to nail the shot.
- Landing pad: Protects your drone during takeoff and landing.
- Editing software: Free options like DaVinci Resolve or paid ones like Adobe Premiere work great.
Wrapping It Up
Cinematic drone shots are all about planning, practice, and creativity. Start with the right camera settings, plan your shots, and master techniques like reveal and tracking shots. With a bit of editing magic, your footage will look like it belongs on the big screen. So grab your drone, head out, and start filming—your next epic video is waiting!