

Introduction
If you’ve just got your hands on the CHUBORY A77 drone, congrats – you’re about to dive into the fun world of flying a quadcopter with a cool camera. This little guy is perfect for beginners, with its brushless motors that make it zip around smoothly, a 2K HD camera for snapping awesome shots, and features like auto hover and follow me that make it feel like a pro gadget without the hassle. But let’s be real, setting up a new drone can feel a bit overwhelming at first, especially if it’s your first time. That’s why I’m here to walk you through everything step by step, like we’re chatting over coffee.
In this guide, we’ll cover the full setup from unboxing to your first flight, plus some handy tips to get you soaring safely and confidently. I’ve flown plenty of drones like this one, and I know the tricks to avoid common pitfalls. We’ll talk about charging those batteries right, connecting to the app for live video feed, calibrating for stable flights, and even troubleshooting if things don’t go perfectly. By the end, you’ll be ready to capture epic aerial views without crashing into a tree on day one. Let’s get started!
What Makes the CHUBORY A77 a Great Beginner Drone?

Before we jump into the setup, let’s quickly chat about why the A77 stands out. It’s a foldable WiFi FPV quadcopter, meaning it connects to your phone for real-time video, and it packs features like optical flow positioning for steady hovering, headless mode for easier control, and even gesture selfies. With three batteries giving you up to 84 minutes of flight time combined, you won’t be grounded too soon. It’s under 250 grams, so no need for FAA registration in most places – just pure fun. If you’re new to drones, this model’s user-friendly design helps you learn fast, but always check local rules for flying.
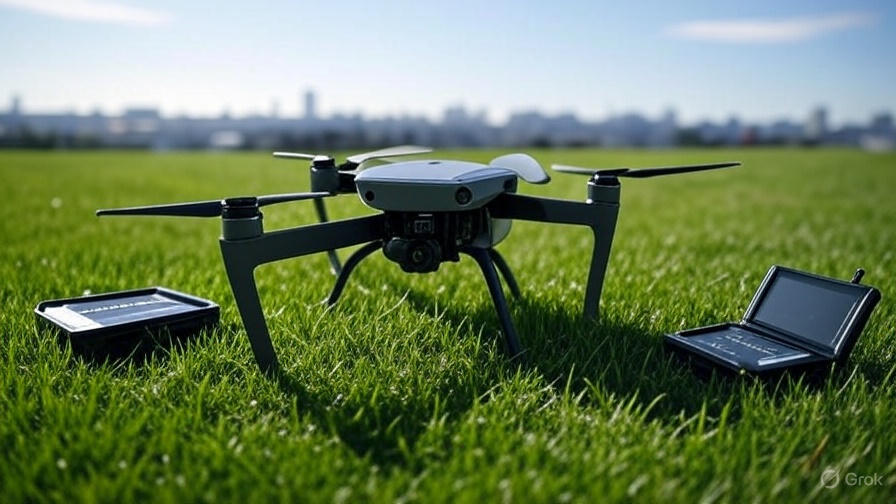
Unboxing Your CHUBORY A77: What’s Inside the Box?
Okay, let’s start at the beginning – opening the box. Just like the CHUBORY X10 Pro when you unbox your CHUBORY A77, you should find everything neatly packed. Here’s what typically comes with it:
- The drone itself (folded up nice and compact)
- A remote controller (transmitter) with a spot to attach your phone
- Three rechargeable batteries for the drone (each giving about 28 minutes of flight)
- A USB charging cable for the batteries and controller
- Spare propellers (just in case you have a bumpy landing)
- Propeller guards for extra safety
- A screwdriver for any tweaks
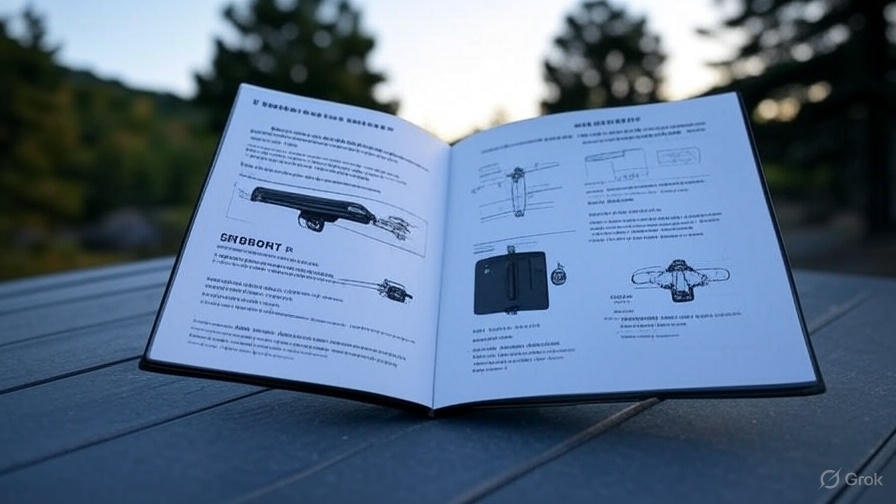
- The user manual (quick start guide) and maybe a carrying case
Double-check that nothing’s missing. If it is, reach out to the seller right away. The drone feels sturdy with its upgraded composite material, so it can handle a few drops, but treat it gently from the start. Pro tip: Lay everything out on a flat table so you can see it all clearly. This makes assembly way easier.
Charging the Batteries: Don’t Skip This Step!
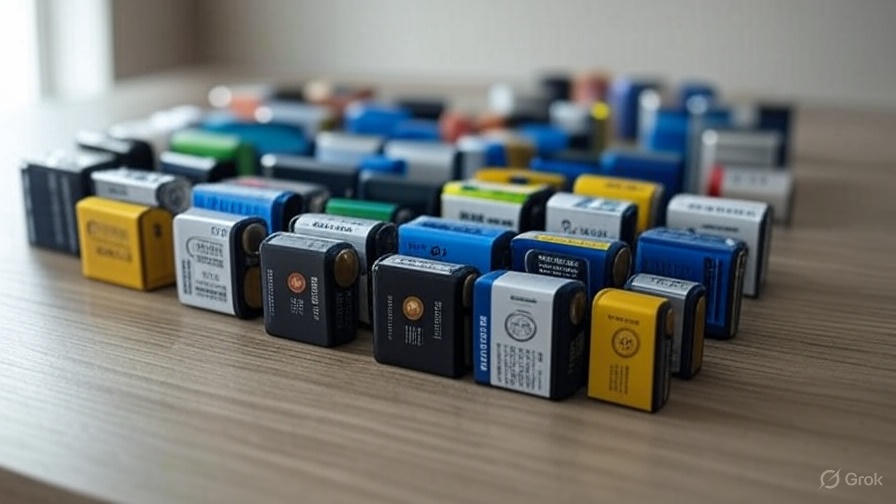
Nothing’s worse than getting excited to fly and realizing your batteries are dead. The CHUBORY A77 uses lithium batteries that need proper charging to last long and perform well. Here’s how to do it right:
- Grab the USB cable that came with the drone. Plug one end into a 5V/2A charger – like the one from your phone. Avoid fast chargers; they might overheat things.
- Connect the other end to the battery. You’ll see a red light turn on, meaning it’s charging. It takes about 4-6 hours for a full charge, so plan ahead. When the light turns off or goes green, it’s ready.
- Charge the remote controller too. It has its own built-in battery – just plug in the USB and watch for the green light while charging. It goes off when full.
Always charge in a cool, dry spot away from kids or pets. Don’t leave batteries charging overnight unsupervised. Each battery gives you around 20-30 minutes of flight, depending on how windy it is or if you’re using the camera a lot. With three batteries, rotate them to keep the fun going. Remember, brushless motors like in the A77 are efficient, but cold weather can shorten flight time, so fly in mild conditions for best results.
Assembling the Drone: Easy Peasy Folding and Propellers

The CHUBORY A77 is foldable, which makes it super portable. Out of the box, the arms might be folded in – here’s how to get it ready:
- Gently unfold the four arms until they click into place. Don’t force it; they should snap open smoothly.
- Check the propellers. They come pre-attached, but if not, match them to the arms. Look for markings like “A” or “B” – “A” props go on arms that spin one way, “B” on the other. Use the screwdriver to tighten them if needed.
- Install the propeller guards if you’re a newbie. They clip on around each prop and protect against bumps.
- Slide a charged battery into the slot on the drone’s body until it locks in. You’ll hear a click.
That’s it for assembly! The drone is lightweight but tough, thanks to its materials. If anything feels loose, tighten it gently – over-tightening can strip screws.
Downloading and Setting Up the App: Get That Live View Going
One of the coolest parts of the A77 is the FPV (first-person view) through your phone. It lets you see what the drone sees in real time via WiFi. But app connection can trip people up, so let’s break it down.
The app is called HFUN (not HFUN Pro – that’s a common mix-up). Download it from the App Store for iOS or Google Play for Android. Scan the QR code in the manual if it’s there.
- Install the app and open it. Give it permissions for camera, storage, and location – it needs these for features like waypoints.
- Turn on the drone by pressing the power button on the battery. It should light up and create a WiFi hotspot (something like “HFUN-XXXX”).
- Go to your phone’s WiFi settings and connect to that hotspot. No password needed.
- Back in the app, it should detect the drone automatically. If not, hit the connect button. You’ll see the live feed from the 2K camera – adjust the angle if you want (it’s manual, up to 90 degrees).
If the camera doesn’t show up, double-check you’re on the right app version and restart everything. Some folks on forums mention turning off mobile data helps avoid interference. Once connected, you can control gestures, take photos, or record videos right from your screen.
Pairing the Remote Controller: Linking Up for Control
Now, let’s sync the remote to the drone. This is key for smooth flying.
- Place the drone on a flat, level surface – like a table or grass.
- Turn on the drone first. Lights will flash.
- Turn on the remote by sliding the power switch. Push the left joystick up and down quickly to pair. The lights on the drone should stop flashing and stay steady, meaning it’s linked.
If it doesn’t pair, turn everything off and try again. The remote has joysticks for control, buttons for takeoff/landing, speed modes, and flips. Attach your phone to the holder on the remote for easy viewing while flying.
Calibrating the Drone: For Stable and Safe Flights
Calibration is like tuning a guitar – it makes sure your drone flies straight. Do this every time before flying, especially in a new spot.
- With the drone and remote paired, place the drone on a flat surface.
- Press the one-button calibration on the remote (look for the icon in the manual). The lights will flash quickly.
- Wait until they go steady again – that means it’s calibrated.
For gyro calibration, sometimes you need to move the joysticks in circles, but for the A77, the one-button does it. If you’re using headless mode (where direction doesn’t matter based on the drone’s nose), activate it after calibration.
Understanding Flight Controls: Master the Basics
Alright, controls time! The left joystick handles up/down and rotation (yaw). Right one is forward/back and left/right (roll/pitch).
- Push left stick up: Drone rises.
- Push right stick forward: It moves ahead.
- To hover, just let go – altitude hold kicks in.
Start in low speed mode for beginners. One-key takeoff/landing makes it simple: Press the button, and it hovers at about 1 meter. For fun, try 3D flips by pressing the flip button and pushing a direction.
Headless mode is a lifesaver if the drone’s far away – controls stay relative to you, not the drone’s orientation.
First Flight Tips: Take It Slow and Steady
Your first flight should be in an open area – park, field, no trees or power lines. Check weather; avoid wind over 10 mph.
- Power on, pair, calibrate.
- Use one-key takeoff. Let it hover and get a feel for controls.
- Practice basic moves: Up, down, forward a bit. Keep it low, like 5-10 feet.
- Use the app for live view – frame shots with the 108° wide-angle lens.
- Land gently with one-key landing.
Tips: Fly in daylight first. If it drifts, recalibrate. Battery low? It beeps – land ASAP. For photos, use gesture mode: Wave your hand, and it snaps a pic.
Advanced tip: Try follow me – the drone tracks you via GPS-like positioning. Or draw a waypoint path in the app for auto flights.
Exploring Advanced Features: Level Up Your Flying
Once comfy, dive into extras. Optical flow helps with indoor flying by sensing the ground. Auto hover keeps it steady for shots. Speed adjustment has three levels – start slow, go fast later.
Gesture selfie: In the app, make a “V” sign, and it takes a photo. Trajectory flight: Draw a path on screen, and it follows.
The 2K camera captures clear videos; save them to your phone. Edit later for social media shares.
Safety Precautions: Fly Smart, Stay Safe
Safety first! Always fly below 400 feet, away from airports, people, and buildings. Don’t fly over crowds. Keep line of sight.
Wear sunglasses if sunny. If crashing, throttle down to zero. Remove props when storing.
For kids, supervise – this isn’t a toy for under 14 without help.
Troubleshooting Common Issues: Fixes for Frustrations
Yes, all drone have so many problems and their solution.
App not connecting? Restart WiFi, ensure no other networks interfere. Use HFUN app only.
Camera blank? Check connection, restart app.
Drone won’t pair? Batteries low? Charge up.
Drifts? Recalibrate on flat ground.
Motor issues? Check props for damage.
If stuck, check online forums or the manual. Many fix with a reset.
Wrapping Up: Enjoy Your CHUBORY A77 Adventures
There you have it – a complete guide to setting up your CHUBORY A77 and nailing that first flight. With practice, you’ll be flipping, following, and filming like a pro. Remember, start slow, stay safe, and have fun exploring from the skies. If you run into snags, revisit the steps or search for A77-specific videos. Happy flying – share your shots if you can! If this helped, let me know in the comments. Blue skies ahead!