
Introduction
If you’ve just picked up the CHUBORY A77 drone and you’re itching to capture some stunning aerial shots, you’re in the right spot. I remember when I first got my hands on a drone like this – it’s exciting, but figuring out the camera can feel a bit tricky at first. Don’t worry, though. In this guide, I’m going to walk you through the best camera settings for CHUBORY A77 drone photography, step by step. We’ll keep things simple, like we’re chatting over coffee, and I’ll share tips to help your photos pop and maybe even rank high in those Google searches for drone tips.
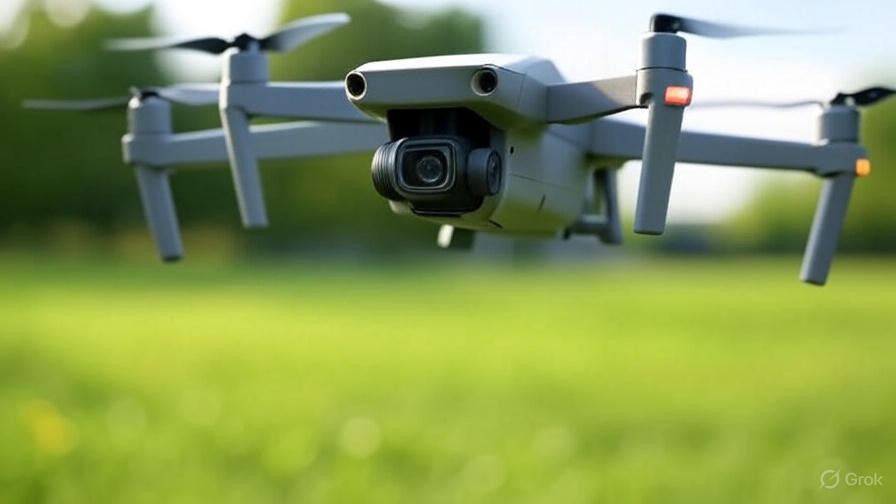
The CHUBORY A77 is a solid beginner-friendly drone with a brushless motor for smooth flights, up to 84 minutes of air time across three batteries, and features like follow-me mode and auto-hover. Its camera is a highlight – we’re talking a 2K HD setup (though some listings mention 4K capabilities for photos) that’s adjustable up to 90 degrees via the app. It’s great for FPV (first-person view) streaming right to your phone. But to get those crisp, professional-looking shots, you need to tweak the settings just right. Let’s dive in.
Getting to Know Your CHUBORY A77 Camera Basics

Before we tweak anything, let’s cover what the camera can do. The A77’s camera is mounted on a gimbal that lets you tilt it downward for those epic overhead views. You control it through the CHUBORY FLY app (available on iOS and Android). Download it, connect via WiFi, and you’re set for real-time video feed.
Key camera features:
- Resolution: Shoots in 2K for video (some models claim 4K photos – check your box or app to confirm). This means clear details for landscapes or action shots.
- Adjustment: 90-degree tilt for flexible angles. Use the app’s joystick to point it where you want.
- Modes: Photo, video, and gesture control for hands-free snaps (wave your hand, and it captures).
- Storage: Saves to your phone or an SD card in the drone (if supported – pop in a microSD up to 128GB for extra space).
The app is your command center. Open it, hit the camera icon, and you’ll see options for photo/video switch, resolution pick, and basic tweaks. If your model has manual controls (not all budget drones do), you might see sliders for exposure or white balance. If not, stick to auto and fine-tune in post-editing apps like Lightroom.
Pro tip: Always calibrate the drone before flight (as per the manual) to avoid shaky footage. Fly in open spaces away from wind for steadier shots.
Why Camera Settings Matter for Drone Photography?

Okay, quick chat on the basics – think of your drone camera like a smartphone cam on steroids. Drone camera settings control how light hits the sensor, affecting brightness, sharpness, and color. Get them wrong, and your photos look blurry or washed out. Get them right, and you’ve got Instagram-worthy aerial magic.
Key concepts:
- ISO: How sensitive the camera is to light. Low ISO (like 100) for bright days to avoid grainy noise.
- Shutter Speed: How long the camera “sees” the scene. Fast speeds (1/500 or quicker) freeze motion, like for fast-flying shots.
- Aperture: Fixed on most drones like the A77 (around f/2.8), so you can’t change it much – it controls depth of field.
- White Balance: Matches colors to the light (sunny, cloudy). Auto works, but tweak for golden hour glows.
- Exposure: Overall brightness. Use the app’s meter to avoid over/underexposed pics.
The A77 might not have full manual mode, but the app lets you adjust some via sliders. If it’s auto-only, focus on scene modes or add ND filters (neutral density) for sunny days to slow shutter without blowing out highlights.
Step-by-Step: Best Default Settings for Everyday Shots
Start simple. Launch the app, connect the drone, and head to the camera settings menu (usually a gear icon). Here’s a solid starting point for most flights:
- Set Resolution High: Go for the max – 2K or 4K if available. For photos, JPEG + RAW if possible (RAW gives more editing flexibility later).
- White Balance on Auto: It adapts to light. If shooting at sunset, switch to “Warm” or around 5500K for that orange hue.
- ISO at 100-200: Keeps noise low. Bump to 400 in shade, but avoid higher unless it’s dusk.
- Shutter Speed Auto or 1/120: Good balance for still shots. For video, aim for twice your frame rate (e.g., 1/60 for 30fps).
- Exposure Compensation 0: Adjust +0.3 for dark scenes or -0.3 for bright skies.
- Frame Rate for Video: 30fps for smooth clips; 60fps if capturing fast action like waves crashing.
Test fly in a safe spot. Take a sample shot, review on your phone, and tweak. The app’s live view helps – if it’s too dark, up the ISO a tad.
Tailored Settings for Different Scenarios
Not every flight is the same. Here’s how to optimize for what you’re shooting. I’ve based these on general drone photography know-how, tweaked for the A77’s capabilities.
Sunny Day Landscapes
Bright light is great but can cause harsh shadows. Goal: Balanced exposure for vibrant skies and ground details.
- ISO: 100 (lowest to cut noise).
- Shutter Speed: 1/250 to 1/500 (freezes any drone wobble).
- White Balance: Daylight (around 5200K).
- Exposure: -0.5 to avoid blown-out whites.
- Tip: Add a cheap ND8 filter (clips on the lens) to slow shutter for silky water effects if near a lake. Fly at 100-200 feet for wide views.
Example: Capturing a beach? Tilt the camera 45 degrees down for horizon balance. Your shots will have that pro depth.
Low-Light or Golden Hour Photography
Dusk or dawn – magic times for warm tones, but light fades fast.
- ISO: 400-800 (higher sensitivity without too much grain).
- Shutter Speed: 1/60 or slower (use hover mode to steady).
- White Balance: Cloudy or Shade (6000K+) for warmer colors.
- Exposure: +0.5 to brighten shadows.
- Tip: Avoid windy spots; the A77’s auto-hover helps. For night shots, if the camera allows, push ISO to 1600 but edit noise out later.
You’ll get those dreamy sunset silhouettes. Practice gesture control for self-portraits against the glow.
Action Shots or Fast-Moving Subjects
Chasing birds, cars, or waves? You need speed to avoid blur.
- ISO: 200-400 (balance light and clarity).
- Shutter Speed: 1/1000 or faster (if manual; otherwise, sports mode if available).
- White Balance: Auto.
- Exposure: 0 (let the app handle quick changes).
- Tip: Use follow-me mode to track subjects. Keep the drone at 50-100 feet to capture motion trails.
The A77’s brushless motors make smooth tracking easy – no jerky footage.
Indoor or Close-Up Photography
Wait, indoors with a drone? Sure, in big spaces like gyms. Or for close aerial inspections.
- ISO: 400-800 (indoor light is dim).
- Shutter Speed: 1/100 (steady hover helps).
- White Balance: Tungsten (3200K) for artificial lights.
- Exposure: +1.0 to counter low light.
- Tip: Tilt camera fully down for macro-like shots. Avoid props near walls.
Advanced Tips to Elevate Your CHUBORY A77 Photos
Want to go pro? Here’s how to sprinkle in some extras without overcomplicating.
- LSI Keywords in Action: Think “drone aerial tips” – use the rule of thirds in the app’s grid overlay for balanced compositions. Place horizons on the lower third for sky-focused shots.
- Keyword Intent: You’re here for “best settings,” so focus on practical advice. Always prioritize safety – check FAA rules for drone flights.
- Post-Processing: The A77 saves raw files? Edit in free apps like Snapseed. Boost contrast, reduce noise – turns good shots great.
- Accessories: Grab extra batteries for longer sessions. A phone hood cuts glare on the FPV screen.
- Common Mistakes to Avoid: Don’t fly in auto everything forever – experiment! Overexposed skies? Dial down exposure. Blurry pics? Calibrate compass.
If your app lacks deep controls, pair with third-party apps like Litchi for more options (check compatibility first).
Troubleshooting Camera Issues on the CHUBORY A77
Stuff happens. Here’s quick fixes:
- Fuzzy Images: Clean the lens. Check for firmware updates in the app.
- Dark Videos: Up ISO or fly closer to subjects.
- Connection Drops: Stay within 100-200 meters; avoid interference.
- App Crashes: Restart phone, reconnect WiFi.
If stuck, the operation manual (download from chubory.com) has diagrams. Videos on YouTube show app walkthroughs – super helpful.
Wrapping It Up: Fly High with Confidence
There you have it – the best camera settings for CHUBORY A77 drone photography, tailored to make your flights fun and your photos shine. Start with basics, experiment in different lights, and soon you’ll be nailing those aerial masterpieces. Remember, practice makes perfect, and the A77 is forgiving for newbies. Got questions? Drop a comment or search for user forums – the drone community is awesome.